Making movies from QDF files
In order to make movies, you have to create files with numerical suffixes before the .qdf:
For instance:
tut_pop-grass_A_pop-sheep_P_SG_000000.qdf
tut_pop-grass_A_pop-sheep_P_SG_000010.qdf
tut_pop-grass_A_pop-sheep_P_SG_000020.qdf
   ...
or
tut_pop_sapiens_SG_000000.qdf
tut_pop_sapiens_SG_001000.qdf
tut_pop_sapiens_SG_002000.qdf
   ...
VisIt will group such sequences of files in the “File open” dialog
Opening FIles
To load a group of file click on the “Open” button in the upper left of the control window:
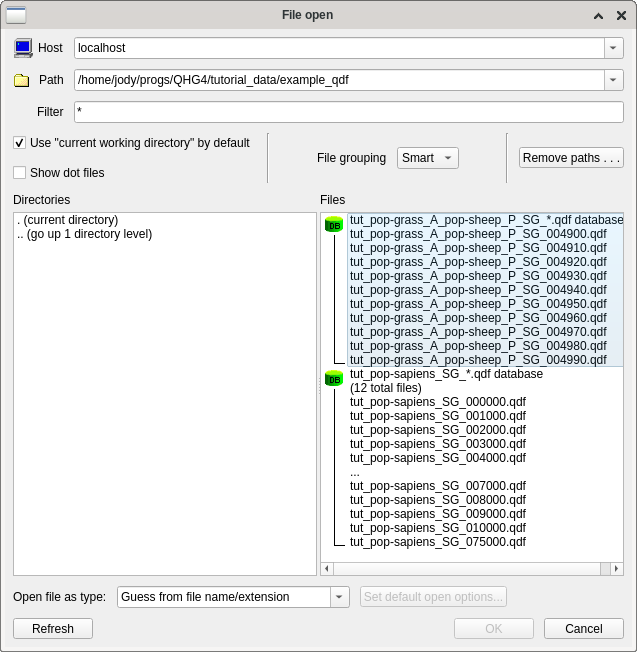
Make sure that the drop-down list “File grouping” is set to “Smart”.
Now click on one of the blocks, say the block “tut_pop-grass_A_pop-sheep_P_SG_*.qdf” and press OK.
Specify what to visualize
You can now start to set the plots and meshes you want to see as if there was only a single input file. So you can follow the steps described in the section for visualizing 2D data.
At the end of this process you will see an image of the first file of the block.
Preview the movie
Using the buttons of the time control
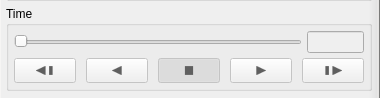
- you can
go one step back (left pointing arrow with bar)
play the movie backwards (left pointing arrow)
stop the movie (square)
play the movie forwards (rightt pointing arrow)
go one step ahead (right pointing arrow with bar)
Saving the movie
To save the movie in a video format such as MP4, choose “Save movie …” from the “File”-menu of the control window.
In the first dialog make sure the option “New simple movie” is selacted.
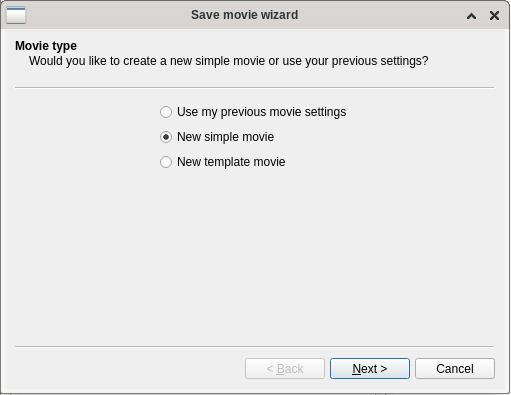
Press “Next >”.
In the second dialog, you have to select the movie format.
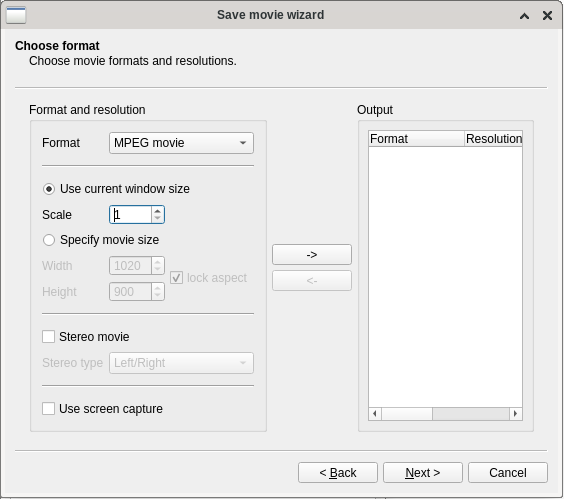
We choose “MPEG Movie” in the “Format” drop-down list nand press the right-pointing arrow “->” in the middle of the dial0g. The enrty “MPEG movie” should appear in the list on the right hand side. Press “Next >”.
In this dialog you can select at which speed the movie should play, and wether to start with first and end with the last frame or not.
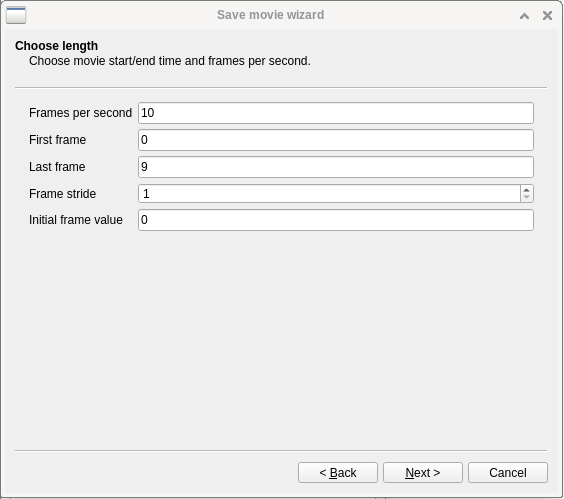
Press “Next>”.
In the new diqalog specify an output directory and a base file name, The base file name is used to name the png images of the frames, and for the name of the finished movie.
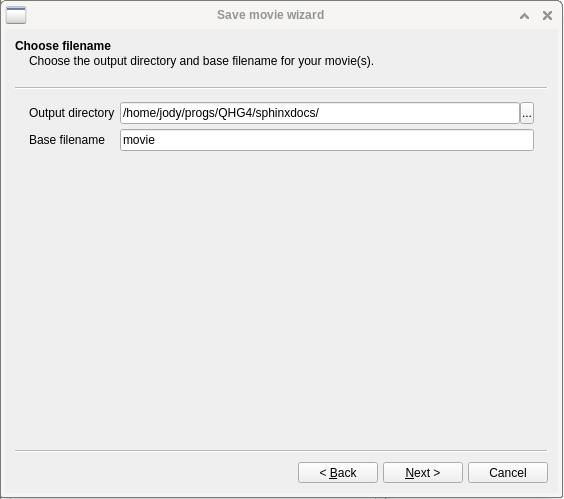
Press “Next>”.
In this dialog make sure “No” is selected (i.e., we don’t want to be notifiedby email).
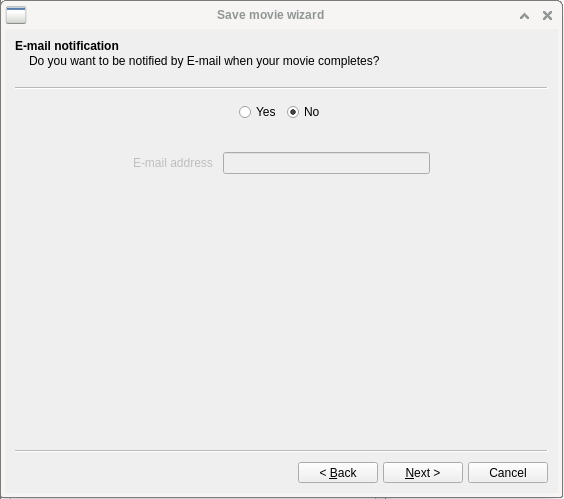
Press “Next>”.
In the final dialog, leave “Now, use currently allocated processes” selected.
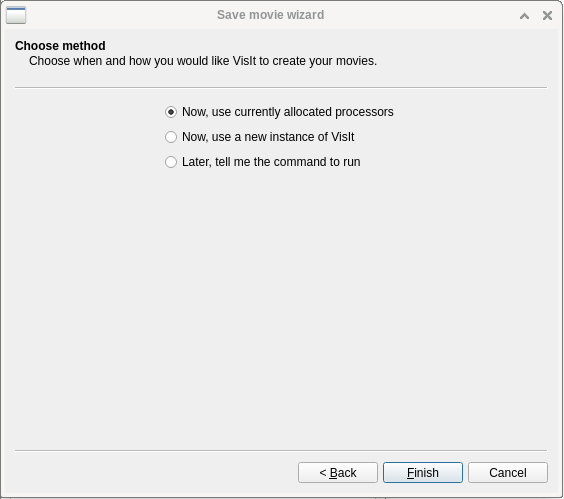
Press “Finish”.
Now VisIt loops through all images, creates PNG files and combines them in a movie file.
Yu can look at such a video in the tutorial.
To practice movie-making, select the other block (“tut_pop_sapiens_SG_*.qdf”) and go through the same steps as above.